Category: Uncategorized

  • 12 Christmas Crochet Ideas: Ornaments, Amigurumi, Wall Hangings and Blankets

    12 Christmas Crochet Ideas: Ornaments, Amigurumi, Wall Hangings and Blankets

    Christmas is the busiest crochet season of the year, and most makers start in October to finish gifts and decorations in time. Here are twelve Christmas crochet ideas sorted by how long they take, from one-evening ornaments to a heirloom picture blanket, with notes on yarn, difficulty and which pattern type to look for. Every idea below links to the matching category in our shop so you can find an English PDF pattern and start the same day.

    One evening: ornaments and small gifts

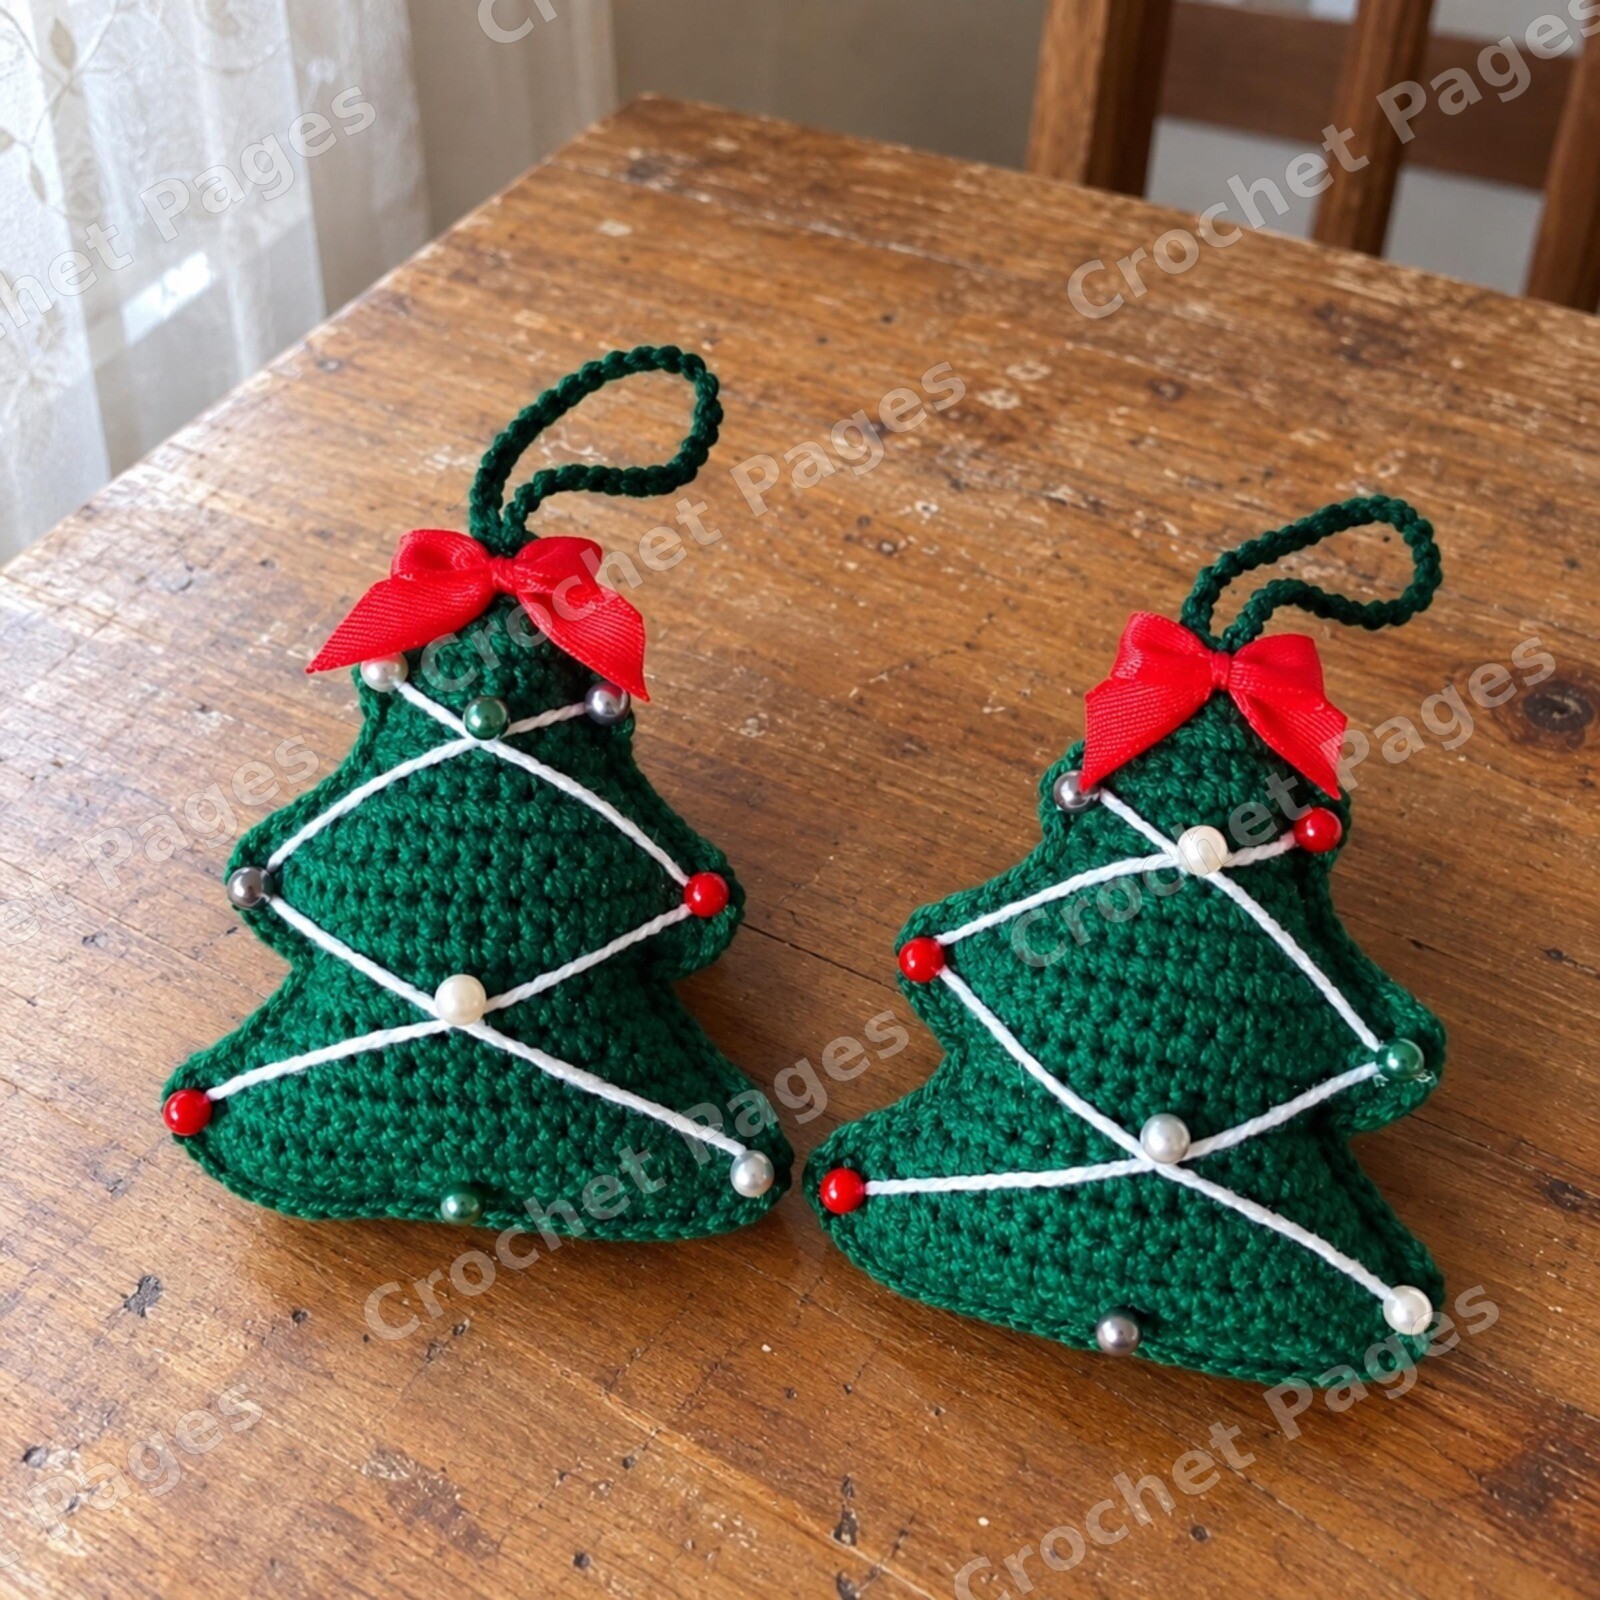
    1. Christmas tree ornament. A flat or lightly stuffed tree in green with tiny bead baubles. Uses leftover yarn, finishes in an hour, and a dozen of them fill a tree. Hang with a loop of metallic thread.
    2. Christmas light bulb garland. Crochet six to ten bulbs in bright colors with a grey “socket”, then thread them onto a chain or cord. A great scrap-yarn project and a popular gift tag.
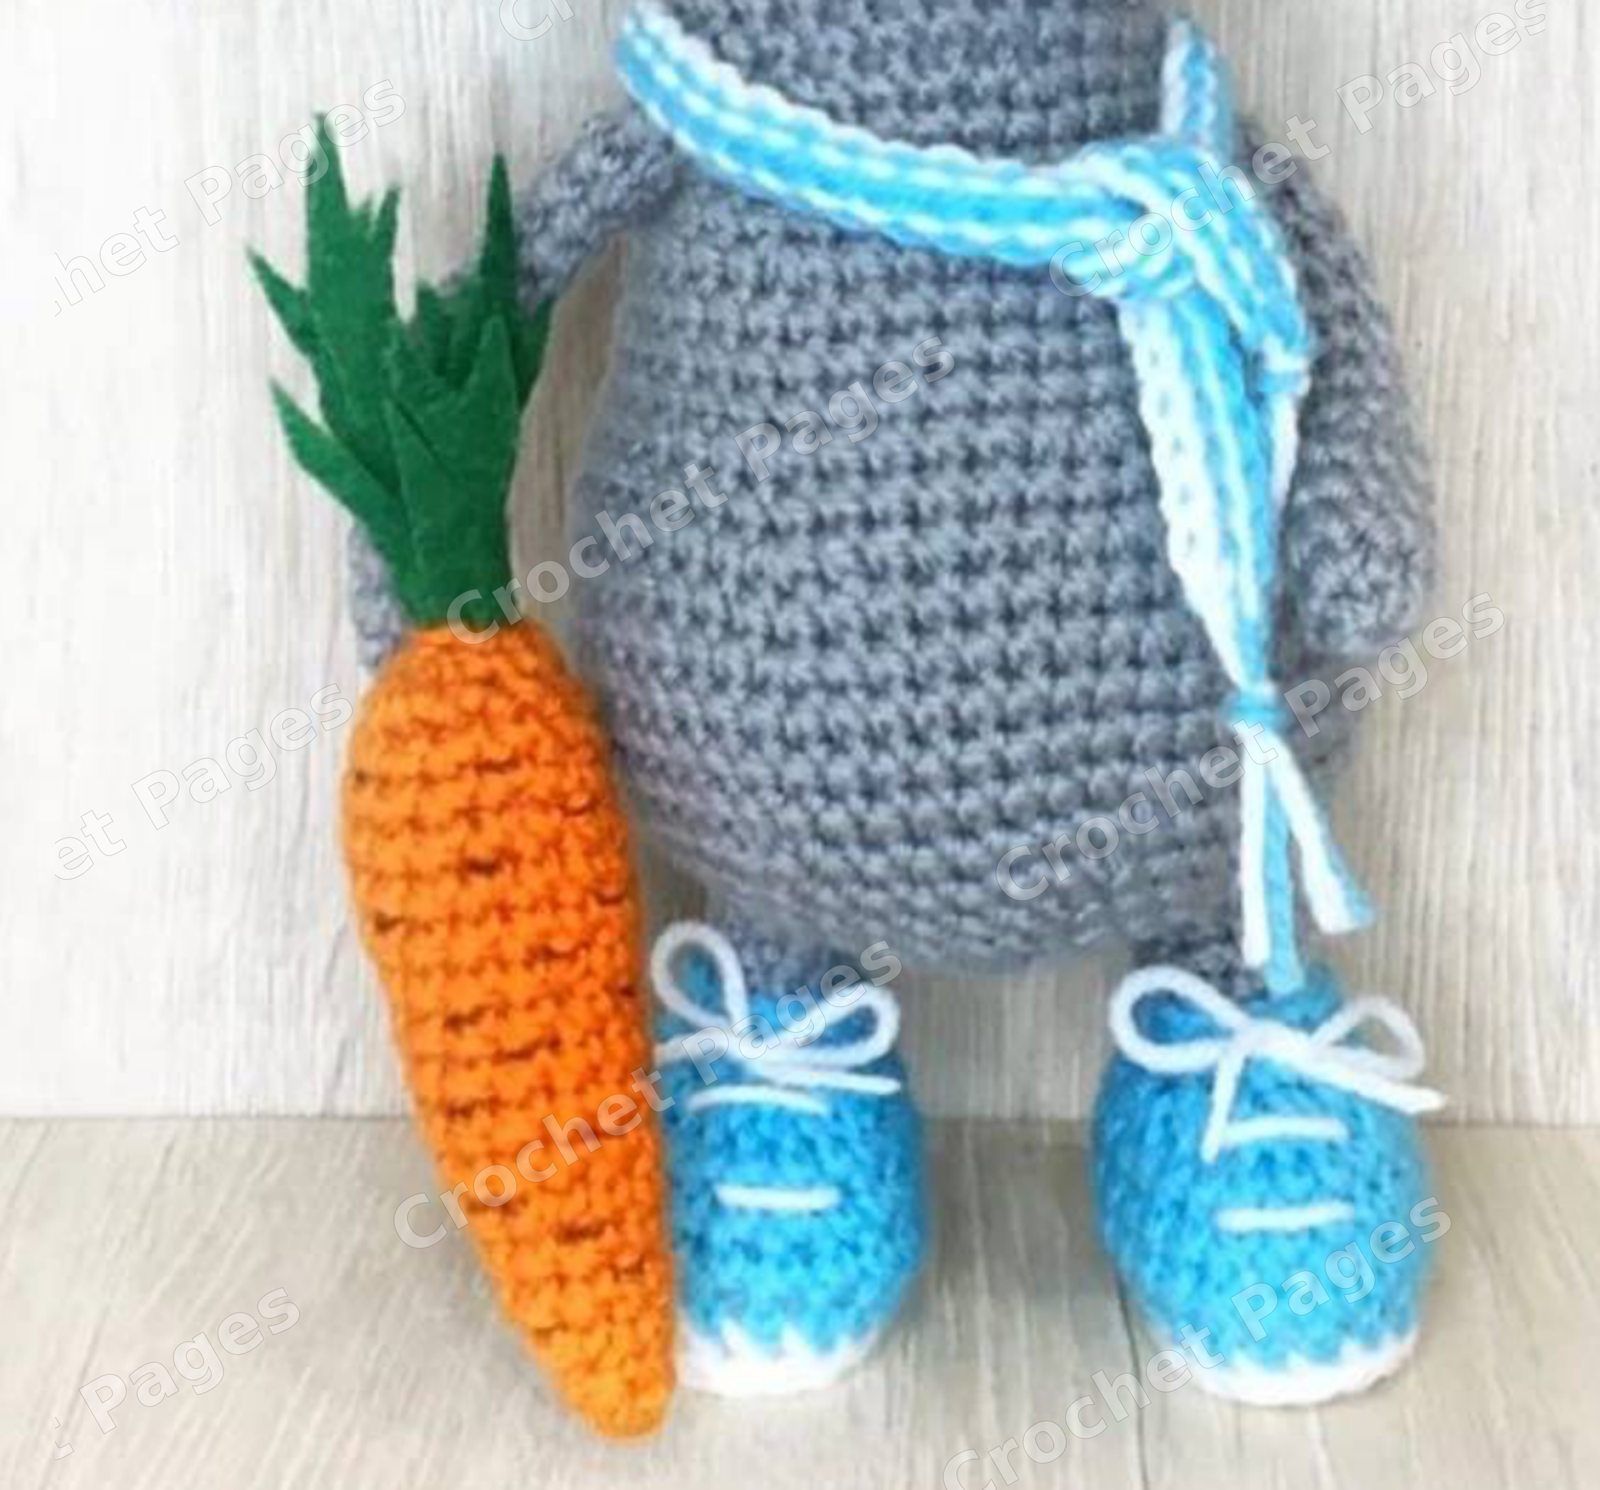
    3. Mini gingerbread or snowman keychain. Small amigurumi on a split ring are the fastest handmade gift for coworkers and teachers. See the crochet keychain patterns for sizes around 2 to 3 inches.
    4. Crochet snowflakes. Thread crochet snowflakes starched stiff are a classic; worsted weight versions make soft, child-safe ornaments. Block them flat and spray with starch for sharp points.

    A weekend: amigurumi and decor

    1. Santa, elf or gnome amigurumi. A cone body, a beard and a hat: these are the simplest Christmas dolls and look good in a row on a mantel. The Christmas crochet patterns include several bearded figures with step photos.
    2. Reindeer or polar bear plush. A standard animal body with antlers or a scarf. Start with a pattern you have already made in another animal, then add the seasonal details. Bear patterns convert easily with a red scarf and a Santa hat.
    3. Christmas stocking. Worked in rows or in the round, a stocking is a good first colorwork project if you add a simple stripe or snowflake band at the cuff.
    4. Festive bunting. Triangles or stars joined on a chain, in red, white and green. Fast, flat and perfect for a doorway.

    Two to three weeks: wall hangings and cushions

    1. Tapestry wall hanging with a Christmas motif. A reindeer silhouette, a stylised tree or a “Merry” lettering panel in two or three colors. At 50 to 70 stitches wide it takes a few evenings and hangs on a dowel; our guide on how to crochet a wall hanging from a chart covers blocking and hanging.
    2. Charted cushion cover. Use a square section of a graphgan chart, such as a single ornament or a snowman face, as a 16 by 16 inch cushion front. Back it with plain single crochet or fabric.

    The big project: a Christmas graphgan blanket

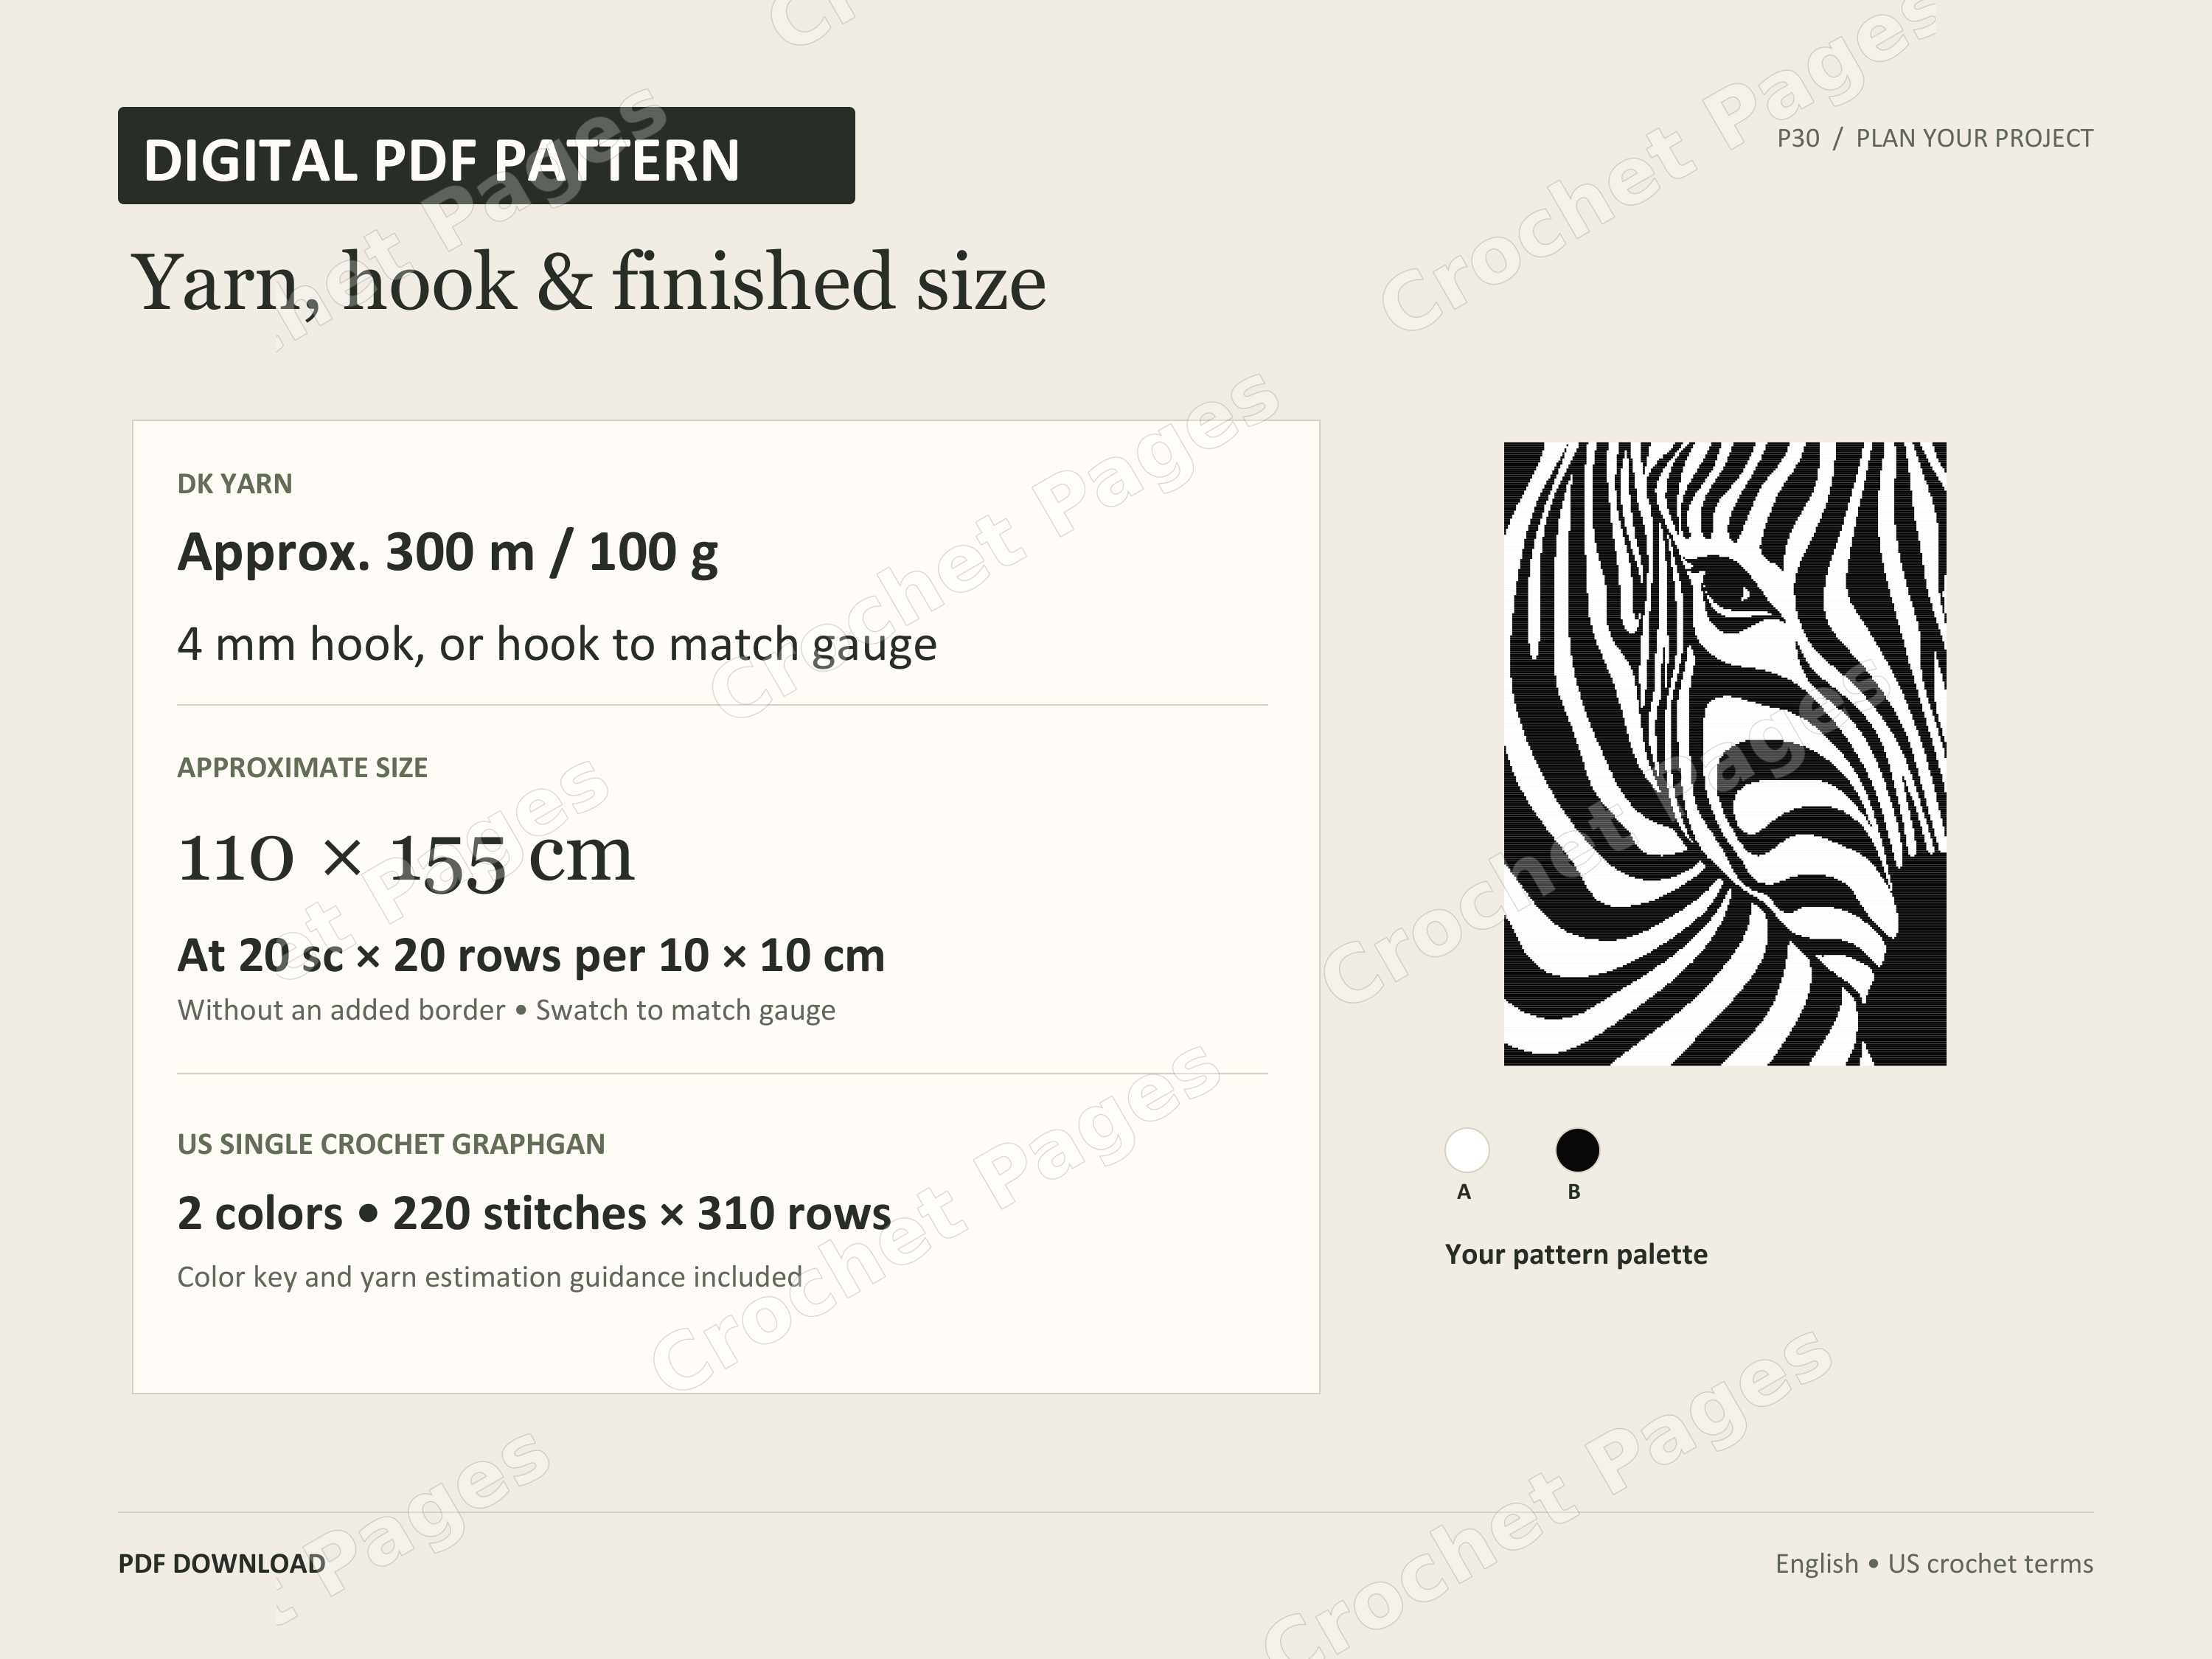
    1. Christmas picture blanket. A reindeer with ornaments, a snowy cabin or a patchwork of festive motifs in single crochet. A 150 by 200 chart is roughly 37 by 44 inches and takes most people four to eight weeks of evenings. The blanket and graphgan patterns include several winter and holiday designs with written rows.
    2. Holiday pattern bundle. If you want matching decor, a bundle of three or four coordinated charts (for example a tree, a reindeer and an ornament) lets you make a wall hanging, a cushion and a table runner from one color palette. Browse the pattern bundles for sets at a lower price per design.

    Planning tips for the season

    • Start the blanket first, then fill gaps with ornaments. Small projects always fit; big ones do not.
    • Buy all the red and green you need in one trip. Holiday shades sell out in November and dye lots differ.
    • Use a smooth worsted acrylic or cotton blend for colorwork so the motifs stay sharp; see our yarn guide for amigurumi and tapestry blankets.
    • Make ornaments in batches: all the trees, then all the hanging loops. Repetition is faster than finishing each one individually.
    • Photograph finished pieces before gifting. Next year you will want to remember what you made and for whom.

    Find a Christmas pattern

    All Christmas crochet patterns at CrochetPages are English PDFs with instant download. Ornaments and amigurumi include step photos; blankets and wall hangings include a numbered chart, a color key and written rows. If you are new to toys, read amigurumi for beginners first and pick a one-evening ornament to warm up.
  • Best Yarn for Amigurumi and Tapestry Crochet Blankets: A Practical Guide

    Best Yarn for Amigurumi and Tapestry Crochet Blankets: A Practical Guide

    The same pattern can look crisp or blurry depending on the yarn you choose. Amigurumi need a yarn that hides stuffing and keeps its shape; tapestry and graphgan blankets need a yarn that shows clean color edges and does not pill. This guide explains what to look for on the label, which fibers suit which project, and how to substitute when you cannot find the yarn a pattern names.

    Read the label: weight, ply and twist

    • Weight is the thickness: DK (3) and worsted (4) are the standard choices for both toys and blankets. Fingering yarn gives tiny, detailed amigurumi; bulky yarn gives fast, cuddly blankets with less detail.
    • Ply is how many strands are twisted together. A 4-ply or 8-ply yarn with a round cross-section gives better stitch definition than a single-ply roving yarn, which splits and fuzzes.
    • Twist: a firm twist resists splitting on the hook and keeps colorwork edges sharp. Loosely twisted yarn is softer but blurs the picture.

    Best yarn for amigurumi

    Amigurumi are worked tightly, often with a hook one or two sizes smaller than the label suggests, so the yarn must tolerate tension without going stiff or splitting.

    • Cotton (mercerized or matte): the classic choice. Crisp stitches, clear shaping, does not stretch over time. Slightly firm, so toys feel sturdy rather than squishy.
    • Cotton-acrylic blends: softer than pure cotton, still show stitches well, machine washable. A good default if the toy is for a child.
    • Premium acrylic: inexpensive, huge color range, soft. Choose a smooth, tightly plied one; cheap fluffy acrylic hides stitches and pills quickly.
    • Velvet or chenille: very soft and popular for plush toys, but it hides your stitches completely and can “worm” out of the fabric. Not for beginners, and not for patterns with fine shaping.

    For the amigurumi patterns at CrochetPages, a smooth DK cotton blend with a 2.5 to 3 mm hook reproduces the sample photos most closely. Patterns that mention a fuzzy mane, hair or fur use a small amount of eyelash or mohair-style yarn for those parts only.

    Best yarn for tapestry and graphgan blankets

    A charted blanket uses a lot of yarn, is washed often, and lives or dies on color contrast. Priorities, in order: stitch definition, pill resistance, matching dye lots, price.

    • Worsted weight acrylic from one line: the most common choice for graphgans. Affordable in the 8 to 20 skeins a blanket needs, machine washable, and most lines offer the 10 to 30 solid shades a picture blanket requires. Pick a smooth, not fluffy, one.
    • Cotton-acrylic blends: heavier and cooler, with sharper edges. Good for wall hangings and warm climates.
    • Superwash wool blends: beautiful drape and warmth, but costly at blanket quantities and some shades bleed on the first wash.

    Avoid variegated, speckled or heathered yarns for any color that forms an outline or a face. They break up the shapes. Use them, if at all, only for large background areas. Every chart in our blanket and graphgan collection includes a stitch count per color so you can calculate yarn before you buy.

    How much yarn does a graphgan need?

    A rough rule for worsted weight single crochet: 1 stitch uses about 0.6 to 0.7 inches of yarn, so 1,000 stitches use roughly 55 to 60 yards. Multiply each color’s stitch count from the chart key by 0.06 to get yards, then add 15 percent for carried yarn and ends. A 150 × 200 chart (30,000 stitches) needs around 1,900 yards in total, about 10 to 12 skeins of 170 yards.

    Substituting yarn safely

    1. Match the weight category and the yards-per-gram, not just the label name.
    2. Match the fiber family: cotton for cotton, acrylic for acrylic. Fiber affects stiffness and drape more than brand does.
    3. Swatch 20 stitches by 20 rows with your hook and compare to the pattern gauge. Change hook size, not tension, to match.
    4. Buy all skeins of one color from the same dye lot. Blanket backgrounds show lot differences as faint stripes.

    Hook pairing cheat sheet

    ProjectYarn weightHook
    Small amigurumi, keychainsFingering or sport2.0 to 2.5 mm
    Standard amigurumiDK2.5 to 3.0 mm
    Large plush amigurumiWorsted3.5 to 4.0 mm
    Tapestry wall hangingWorsted cotton3.5 to 4.0 mm
    Graphgan blanketWorsted acrylic4.0 to 5.0 mm
    Mosaic blanketWorsted or aran4.5 to 5.5 mm

    Still deciding between techniques? Our comparison of tapestry, graphgan and mosaic crochet explains which one suits your yarn and your patience, and the pattern guide shows what to check in a PDF before you buy.

  • How to Crochet a Wall Hanging From a Chart (and How to Hang It)

    How to Crochet a Wall Hanging From a Chart (and How to Hang It)

    A crochet wall hanging is the fastest way to turn a tapestry chart into finished art. It uses the same single crochet colorwork as a blanket, but at 40 to 80 stitches wide it is done in a few evenings, needs two or three skeins, and does not have to be soft or drapey. This guide walks through choosing a chart, getting a flat square panel, blocking it, and the three most common ways to hang it.

    Choosing a chart and size

    Wall hangings read best with high contrast and large shapes, because they are viewed from across a room. Geometric animals, folk motifs, moons and botanical silhouettes work better than detailed portraits. For a first piece, pick a chart under 60 stitches wide with two to four colors; the wall hanging crochet patterns at CrochetPages list the stitch count and colors in every description so you can compare before buying.

    With worsted weight cotton and a 4 mm hook, 60 stitches is about 15 inches wide. Multiply the chart width by your stitch gauge and the chart height by your row gauge to get the finished size before you start.

    Yarn: cotton beats acrylic for wall art

    Unlike a blanket, a wall hanging does not need to be soft. Mercerized or regular worsted cotton gives crisp edges, holds a block, and does not stretch under its own weight on the wall. Acrylic works but can grow longer over time and shows carried colors more. Keep all colors in the same yarn line so the gauge is identical.

    Working the panel

    1. Chain the chart width plus one. Work row 1 in single crochet, reading the chart from bottom right to bottom left.
    2. Carry the unused color inside the stitches (tapestry method) so the back stays tidy. For gaps longer than six stitches, drop the color and pick up a second ball to avoid pulling.
    3. Change color on the last yarn-over of the stitch before the new color, exactly as in a graphgan. If you are new to charts, read our guide on how to read a graphgan chart first.
    4. Keep the turning chain loose and work the first stitch of every row into the first stitch, not the chain, so the edges stay straight.
    5. Finish with one or two rows of single crochet around the whole panel in the background color. This border hides uneven edges and gives you something to sew the hanging rod to.

    Why the panel slants and how to fix it

    Single crochet worked in rows leans slightly to one side, and tapestry crochet leans more because the carried yarn pulls. Three fixes, from easiest to strongest:

    • Block the finished panel hard (see below). This is enough for most pieces.
    • Work every row with the right side facing: cut the yarn at the end of each row and rejoin at the right edge. More ends, perfectly straight picture, and the carried strands never show. Many tapestry artists do this on purpose.
    • Use a slightly smaller hook on the wrong-side rows than on the right-side rows to balance tension.

    Blocking the finished piece

    Soak the panel in lukewarm water for ten minutes, roll it in a towel, then pin it to a foam mat or a towel on carpet, pulling the corners square and checking with a ruler. Let it dry completely, which can take a day for cotton. Steam blocking with an iron held above the fabric works for acrylic; never press acrylic directly or it will go flat and shiny.

    Three ways to hang it

    • Dowel and cord: fold the top border over a wooden dowel and sew it down, or crochet a row of loops and slide the dowel through. Tie a cord to both ends. This is the classic tapestry look.
    • Stretched over a canvas frame: buy a stretched canvas slightly smaller than the panel, pull the panel over it and staple or lace the back. The piece hangs like a painting with no visible hardware.
    • Embroidery hoop: for round or small square designs, trap the panel in a wooden hoop and trim the excess at the back. Quick and inexpensive, and perfect for a gallery wall of several small motifs.

    Caring for crochet wall art

    Keep the piece out of direct sunlight to avoid fading, and vacuum it gently with a brush attachment once or twice a year. If it sags, take it down, re-wet and re-block it. A cotton wall hanging blocked well will stay square for years.

    Ready to start?

    Browse the wall hanging patterns for geometric animals, seasonal pieces and bundle sets, or look at the Halloween and autumn designs if you want something for this season. Each PDF includes a full chart, written rows and a color key, with instant download after checkout.

  • Amigurumi for Beginners: Tools, Stitches and Your First Pattern

    Amigurumi for Beginners: Tools, Stitches and Your First Pattern

    Amigurumi are small crocheted animals, dolls and objects worked in the round and stuffed. They need very little yarn, use only a handful of stitches, and finish in an evening or a weekend. This beginner guide covers the tools you really need, the four stitches every amigurumi pattern uses, how to read the round-by-round instructions, and how to pick a first pattern that you will actually finish.

    Tools and materials

    • Yarn: a smooth DK or worsted weight cotton or acrylic. Avoid fuzzy yarn for your first toy; you cannot see your stitches.
    • Hook: one or two sizes smaller than the yarn label suggests, usually 2.5 to 3.5 mm. Tight stitches stop the stuffing from showing.
    • Stitch markers: a locking marker or a scrap of contrasting yarn to mark the first stitch of each round.
    • Polyester fiberfill for stuffing, and a tapestry needle for sewing parts together.
    • Safety eyes (6 to 12 mm) or black embroidery thread. Use embroidered eyes for toys given to children under three.

    The four stitches you need

    • Magic ring: an adjustable loop that closes the first round so there is no hole in the top of the head.
    • Single crochet (sc): the only stitch most amigurumi bodies use.
    • Increase (inc): two single crochets in one stitch, used to make a shape grow wider.
    • Invisible decrease (dec): working through the front loops only of two stitches, which makes the shape narrower without a visible bump.

    Amigurumi are usually worked in a continuous spiral, not joined rounds, which is why the stitch marker matters. Move it up every round and count your stitches when the pattern gives a total in brackets.

    How to read an amigurumi pattern

    A typical head starts like this:

    • Rnd 1: 6 sc in magic ring (6)
    • Rnd 2: inc in each st around (12)
    • Rnd 3: (sc, inc) × 6 (18)
    • Rnd 4: (2 sc, inc) × 6 (24)

    The number in brackets is the stitch count at the end of the round. Instructions inside parentheses repeat the number of times stated after the ×. Every round adds six stitches while the shape grows, stays flat in the middle, then loses six stitches per round while it closes. Once you recognize this rhythm, you can read almost any English amigurumi pattern, including every design in the CrochetPages amigurumi collection.

    Choosing your first pattern

    Look for a design with a round head, a simple body and no more than three colors. Good first projects are a bear, a bunny or a cat: the limbs are tubes, the ears are small ovals and the face needs only two eyes and a nose. Save dolls with hair, clothing and jointed limbs for your third or fourth toy. Patterns that list the finished size, yarn weight and the number of pieces up front are easier to plan.

    Stuffing and assembly

    • Stuff firmly in small pieces as you go; a head stuffed in one lump looks lumpy.
    • Insert safety eyes before closing the head, usually between the widest rounds, and check they are level from the front.
    • Pin every limb in place with sewing pins before you stitch. Take a photo; crooked legs are obvious in a photo and invisible in your hands.
    • Sew with the same yarn as the body, through the back loops of the last round for a clean seam.

    Common beginner problems

    • Holes between stitches: your hook is too large. Go down a size.
    • The spiral is leaning: normal. The increases drift to one side; some patterns stagger them to hide this.
    • The head is a cone instead of a ball: you missed increases. Count at the end of every round.
    • Visible stuffing: use white stuffing with light yarn and a tighter tension.

    What to make next

    After two or three basic animals, try a design with simple clothes or a seasonal theme such as the Christmas crochet patterns or the Halloween and autumn patterns. Small projects like crochet keychains are also a quick way to practice color changes and tiny shaping. All CrochetPages patterns are English PDFs with step photos and instant download, so you can start the same evening.

  • Tapestry Crochet vs Graphgan vs Mosaic Crochet: What Is the Difference?

    Tapestry Crochet vs Graphgan vs Mosaic Crochet: What Is the Difference?

    Tapestry crochet, graphgan and mosaic crochet all produce blankets with pictures or geometric motifs, and they are often confused in pattern descriptions. They are not the same technique. Choosing the wrong one for your skill level or your design is the main reason colorwork blankets end up unfinished. Here is how the three methods differ, what each one looks like, and which to pick for your next project.

    Quick comparison

    MethodHow the picture is madeColors per rowEnds to weaveBest for
    Tapestry crochetSingle crochet, unused colors carried inside the stitches2 to 4FewGeometric motifs, bold animal shapes, bags
    GraphganSingle crochet or C2C following a pixel chart, bobbins or carried yarnAny numberManyPortraits, detailed pictures, photo-style blankets
    Mosaic crochetOne color per row, long double crochets dip into rows below1Very fewGeometric and repeating patterns, texture lovers

    Tapestry crochet

    Tapestry crochet is worked in single crochet with the colors you are not using carried along the top of the previous row, so they get wrapped inside each new stitch. The fabric is dense, warm and the same on both sides, which is why the technique is popular for bags and wall art as well as blankets. Because every color travels the whole row, designs with two to four colors work best; with more colors the carried strands make the fabric stiff. Most of the tapestry wall hanging patterns at CrochetPages use this method, with a chart and written rows for every design.

    Graphgan

    “Graphgan” simply means a blanket made from a graph. The chart is a pixel image, each cell is a stitch, and you can use as many colors as the picture needs. You can work a graphgan in plain single crochet rows, in corner-to-corner (C2C), or even in Tunisian crochet. The trade-off is yarn management: a detailed portrait may need twenty bobbins hanging from one row. The reward is that any image can become a blanket, from a cat maze to a stained glass window. Our blanket and graphgan patterns are all charted for single crochet, which keeps the picture crisp and the fabric flat.

    Mosaic crochet

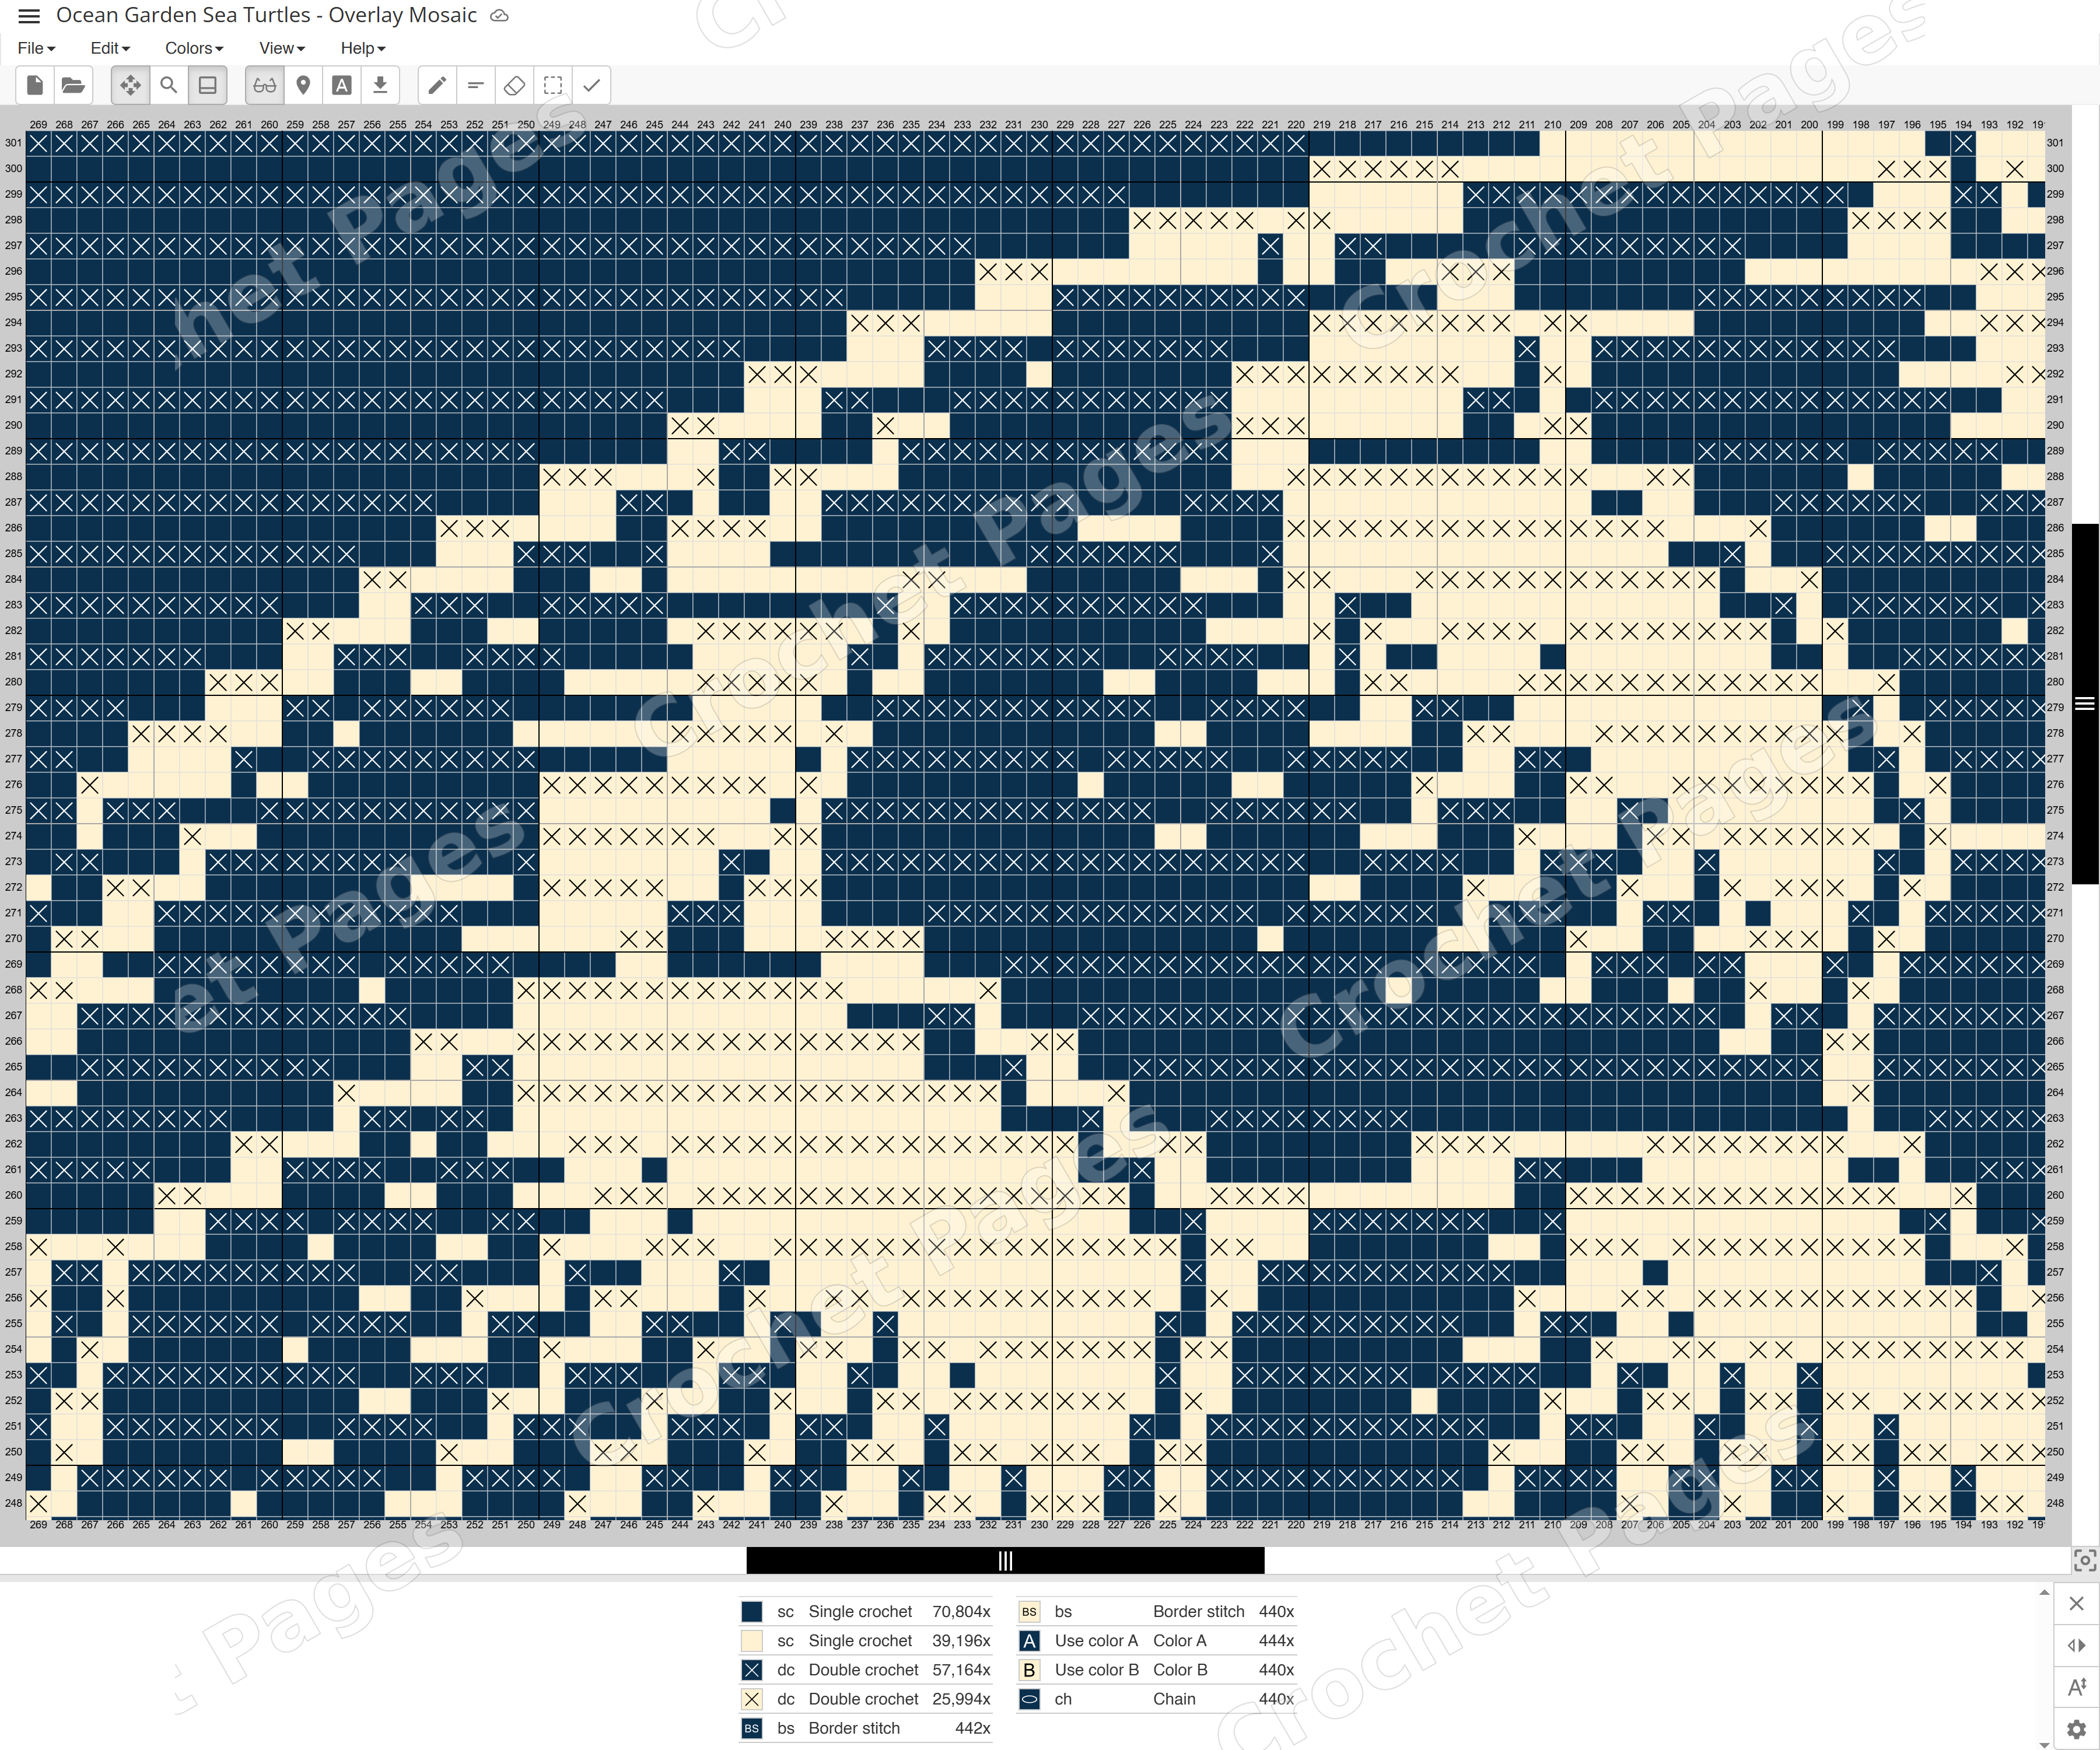
    Mosaic crochet looks complicated but uses only one color per row. You alternate two colors every row (or every two rows in the overlay method) and create the design with long double crochets that reach down into the row below, covering the stitches of the other color. There are no color changes mid-row and almost no ends. The result is a strongly textured, graphic fabric with a slightly raised pattern. Mosaic is the most relaxing of the three to crochet once you understand the chart symbols, and the mosaic crochet patterns in our shop include a stitch key and a row-by-row written version for that reason.

    Which should a beginner choose?

    • Never done colorwork: start with a two-color tapestry wall hanging. You learn clean color changes on a small piece.
    • Comfortable with single crochet and patient: pick a graphgan with 4 to 6 colors and large shapes, such as a holiday or animal silhouette design.
    • Dislike weaving in ends: mosaic crochet. Two balls of yarn, one color per row, and a fabric that looks far harder than it is.

    Yarn and hook notes

    All three methods look best in a smooth, plied yarn with good stitch definition, such as a worsted weight cotton blend or an acrylic with a tight twist. Fuzzy or variegated yarn blurs the picture. Tapestry and graphgan fabrics are dense, so go up half a hook size if your swatch feels like cardboard. Mosaic needs a slightly looser tension so the long stitches lie flat. For a longer guide see our post on choosing yarn for amigurumi and colorwork blankets.

    Can one chart be used for all three?

    Tapestry and graphgan charts are interchangeable: both are pixel grids read bottom to top, and our guide on how to read a graphgan chart applies to both. Mosaic charts are different, because the symbols tell you which stitches are single crochets and which are long double crochets into the row below. Do not try to work a mosaic chart in tapestry or the picture will not appear. When you shop, check the technique named in the product title; at CrochetPages every listing states whether it is single crochet tapestry, graphgan or mosaic.

  • How to Read a Graphgan Chart: A Beginner Guide to Picture Blankets

    How to Read a Graphgan Chart: A Beginner Guide to Picture Blankets

    A graphgan is a crochet blanket that shows a picture. The picture comes from a chart: a grid of colored squares where every square is one stitch. If you can count squares and change colors, you can crochet any graphgan, from a simple heart to a full cat portrait. This guide explains how to read a graphgan chart, how written rows relate to the grid, and which mistakes cost beginners the most time.

    What a graphgan chart actually is

    A chart is a pixel image. Each cell is one single crochet stitch, and each row of cells is one row of your blanket. A 150 × 200 chart therefore means 150 stitches across and 200 rows tall. Designers usually add numbers along the edges so you can find your place, and a color key that lists how many stitches each color needs, which is how you estimate yarn.

    Most graphgan patterns, including the blanket and graphgan patterns at CrochetPages, come as a PDF with three parts: a full color chart, the same chart split over several pages at a readable size, and written row-by-row instructions such as “Row 12: 14 white, 3 black, 22 white”.

    Which direction do you read the chart?

    Charts are read from the bottom up, because that is how the blanket grows. Row 1 is the bottom row of the picture.

    • Odd rows (right side) are read from right to left.
    • Even rows (wrong side) are read from left to right.

    This zig-zag matches the way you turn your work at the end of every row. If you are left-handed, reverse the directions; the picture will come out mirrored, which rarely matters unless the design contains letters. Written instructions already follow the correct direction for right-handed crocheters, so if you use them you do not need to think about this at all.

    Step by step: your first chart row

    1. Chain the number of stitches across the chart plus one turning chain. For a 150-stitch chart that is 151 chains.
    2. Work the first row of single crochet in the color shown in the bottom right cell, changing color exactly where the chart changes.
    3. At the end of the row, chain one and turn. You are now on an even row, reading left to right.
    4. Mark every finished row with a pencil on a printed chart, or move a sticky note up one row. Losing your row is the most common graphgan mistake.

    How to change colors cleanly

    Change colors on the last pull-through of the stitch before the new color. Insert your hook, yarn over with the old color, pull up a loop, then yarn over with the new color and pull through both loops. The new color now sits on top, ready for the next stitch. Doing it one stitch late shifts the whole picture by one cell, which is very visible on faces and outlines.

    Tapestry, intarsia or bobbins: three ways to carry yarn

    • Tapestry crochet carries the unused color inside the stitches. Fastest and reversible, but the carried color can peek through on pale sections. Works best with few colors.
    • Intarsia uses a separate ball or bobbin for every color block and drops it at the back. Cleanest picture, most ends to weave in. Best for designs with large solid areas.
    • Hybrid carries colors for short gaps (under five stitches) and uses bobbins for long gaps. This is what most experienced graphgan makers end up doing.

    How big will the blanket be?

    Single crochet stitches are a little wider than they are tall, so a square chart produces a slightly wide rectangle. With worsted weight yarn and a 4 mm hook, most people get about 4 stitches and 4.5 rows per inch. A 150 × 200 chart is then roughly 37 × 44 inches, a generous throw. Always crochet a 20-stitch, 20-row swatch first and measure it; adjusting the hook size by half a millimeter is far easier than adding a border to fix the proportions later.

    Reading tips that save hours

    • Print the split chart pages and tape them together, or open the PDF on a tablet and zoom in. A phone screen is too small for a 150-stitch row.
    • Use stitch markers every 10 or 25 stitches. If a row is off, you only recount a short section.
    • Count the stitches at the end of every row for the first ten rows until the habit sticks.
    • Work in daylight or under a white lamp. Dark blues, blacks and purples look the same under warm light.
    • If the pattern includes written rows, read them aloud or use a row-counter app; it is easier than counting cells.

    Where to find charted blanket patterns

    Every pattern in the CrochetPages blanket collection comes with a numbered chart and written rows in English, and the wall hanging patterns use the same technique on a smaller grid, which makes them a good first project. If you prefer a design that does not use color changes at all, look at mosaic crochet patterns, where one color per row creates the picture.

Message usUsually replies within 1 hour